My Share Tools Online Tutorial

This tutorial is for My Share Tools (MST) users so that they can know and make use of the app better.

Sponsored Links

In this online tutorial, we cover the following topics: what is My Share Tools(MST)? what is MST for? How to share items to MST? How to share objects from MST to the final destination applications? How to directly create a share item? How to delete a share item?

What is My Share Tools and What is it for?

My Share Tools is a share tool that enables you to cache all your share items in one place so that you can come back latter to share them to different final destinations.

My Share Tools is especially useful when you cannot or don’t want to directly share items to destination applications when you access them (for example, when you are offline). Instead, you share them with MST, and MST will store them until you are able to share them to the final destination applications later.
How to Share Items to MST?

After installing My Share Tools, you can share any items to MST. Here are two examples.

Sponsored Links

Example 1: sharing a file to MST.

Step 1, in Windows Explorer, select and right click the file to share, to display the context menu. In the menu, select “Share”. Note: in Windows 11, the Share is a button like below while in Windows 10, the Share is a menu item.

Step 2, in the “Share 1 item” window, select “My Share Tools”. If you don’t see it in the “Share with app” section, please check and make sure you have installed the app successfully.

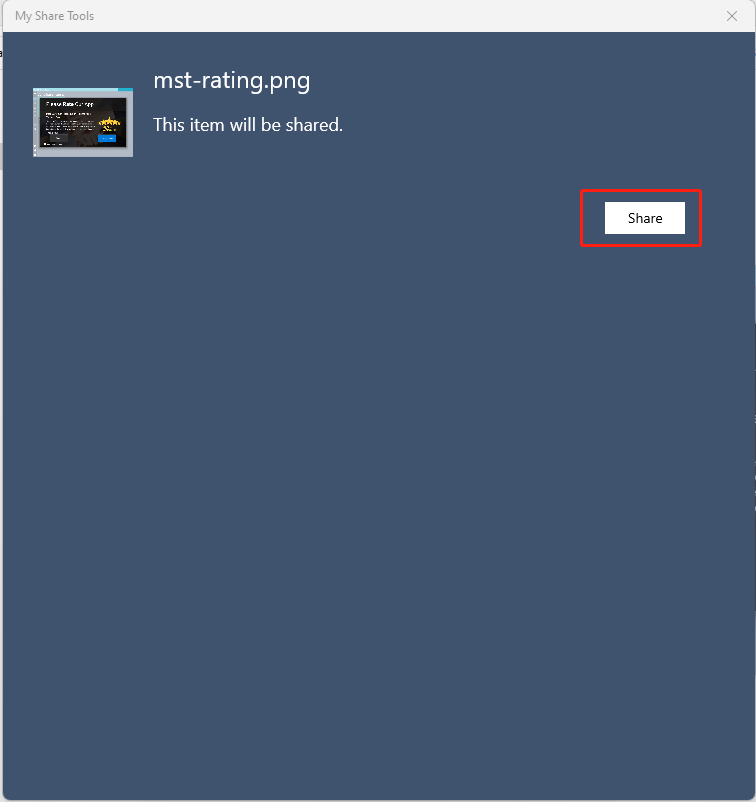
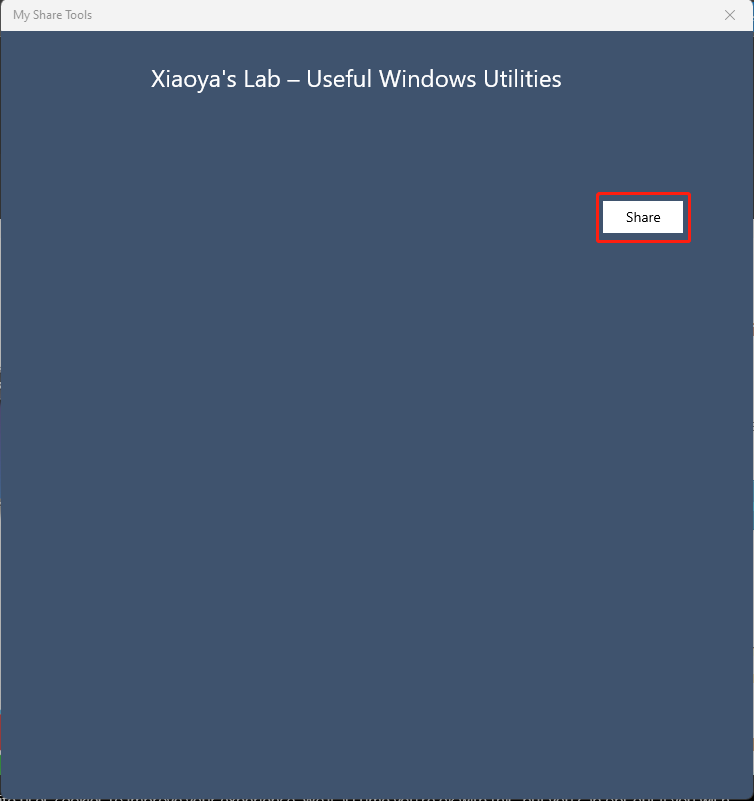
Step 3, in the next window, click the button “Share”, and the file will be shared to My Share Tools.

Example 2: sharing a webpage to MST.

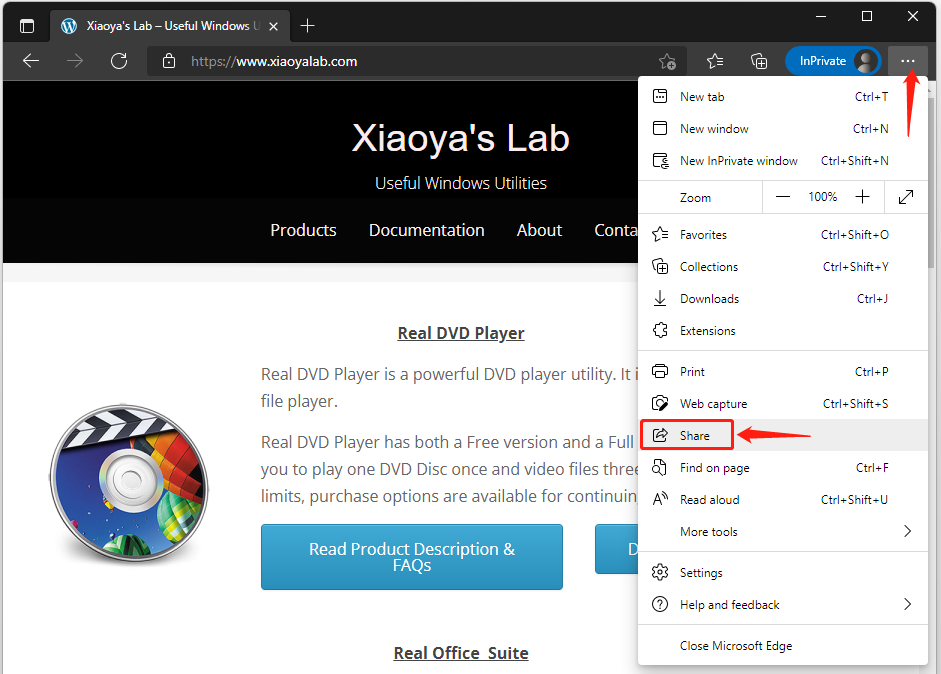
Step 1, open Microsoft Edge browser, go to a website, then click the “…” button located at the right top corner. In the menu, select “Share”.

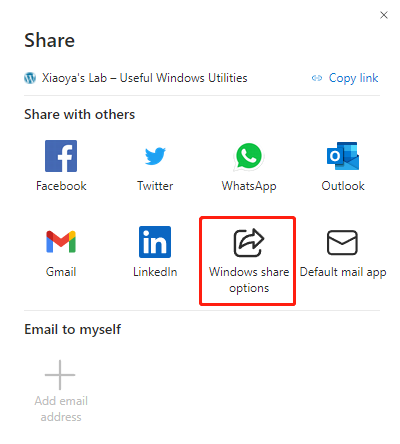
Step 2, in the “Share with others” window, select “Windows share options”

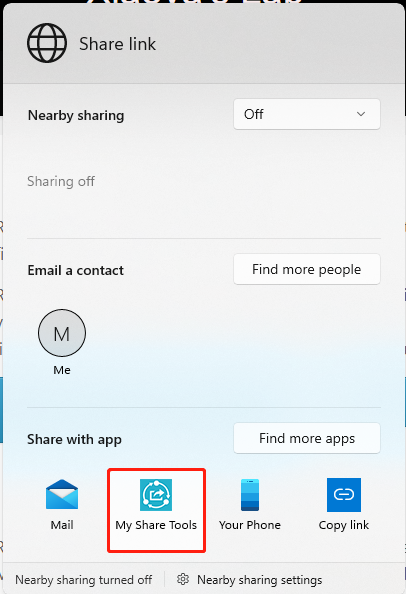
Step 3, in the “Share link” window, select “My Share Tools”. If you don’t see it in the “Share with app” section, please check and make sure you have installed the app successfully.

Step 4, in the next windows, click the button “Share”, and the link will be shared to My Share Tools.

How to Share Items from MST to the Final Destination Applications?

In order to share the items in MST to the final destination applications, you need to open MST first.

Sponsored Links

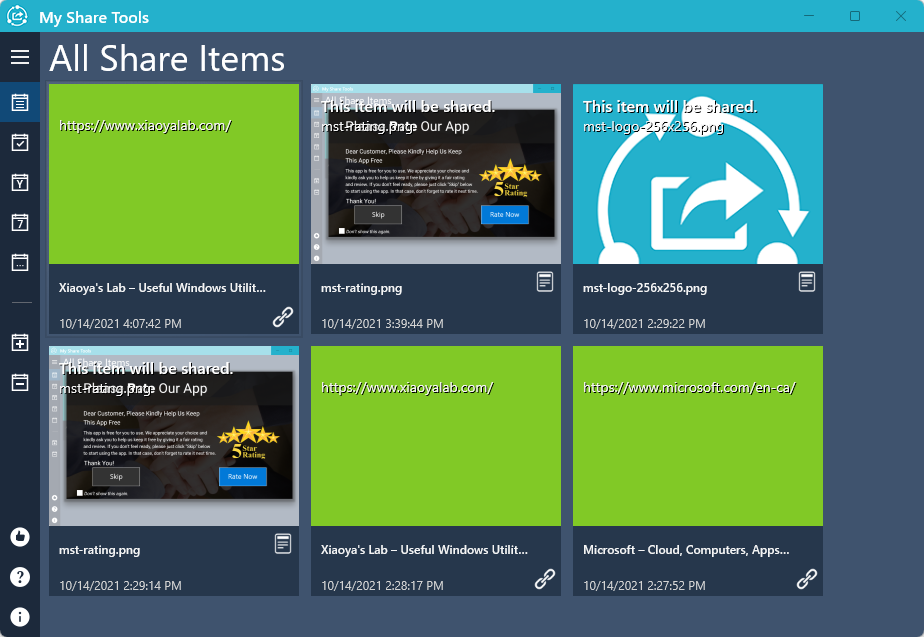
The simplest way to open MST is to use Windows Search. In the search bar, input “My Share Tools” and you should be able to find the app. Click the app to launch it.

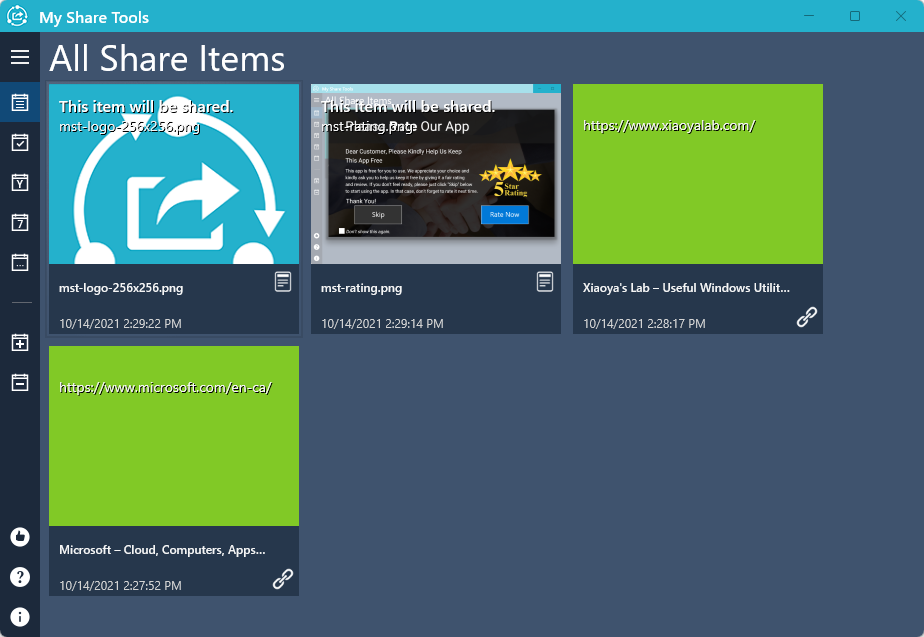
As you can see, the two items we shared in the previous examples are displayed there.

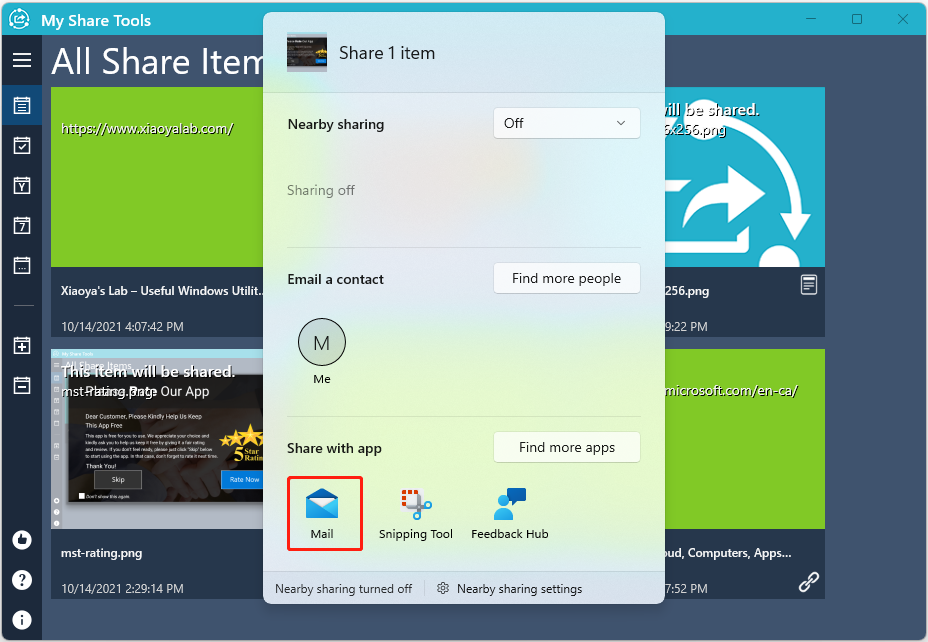
In order to share a item to another application, simply click that item. Then, in the “Share 1 item” windows, select the application, person or device that you want to share with. In this case, let’s choose “Mail”. The Mail application will  automatically launch with the file as an attachment. After sending out the email, My Share Tools will automatically delete the share item that has been successfully shared out. 

Note: My Share Tools will automatically delete the share item that has been successfully shared out.

How to Remove Share Items?

Sometimes we change our minds and don’t want to share the items any more. In that case, we need to delete share items in MST. 

Sponsored Links

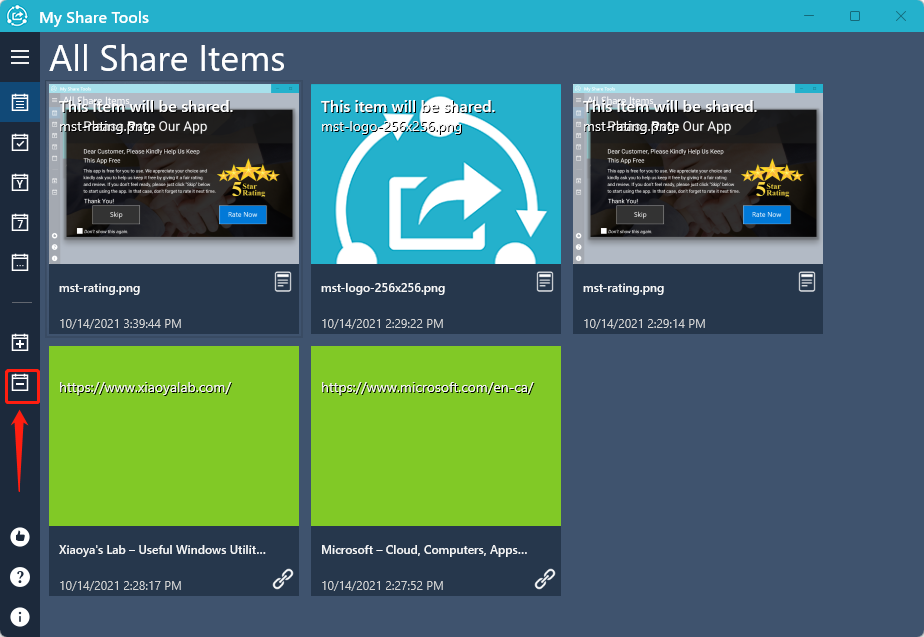
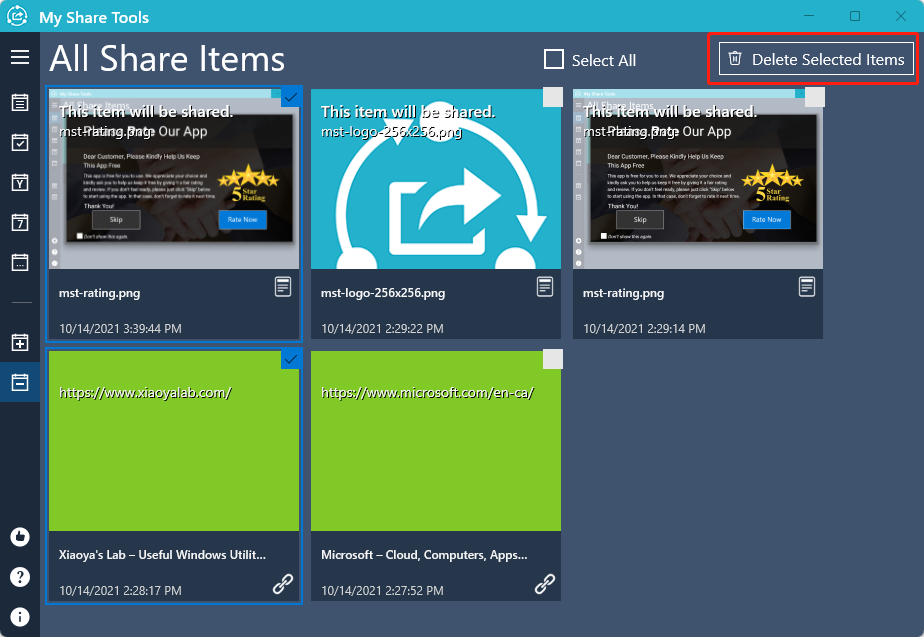
In order to remove share items, simply click the button “Remove Items”.

Then, select the items you want to remove, and click the button “Delete Selected Items”.

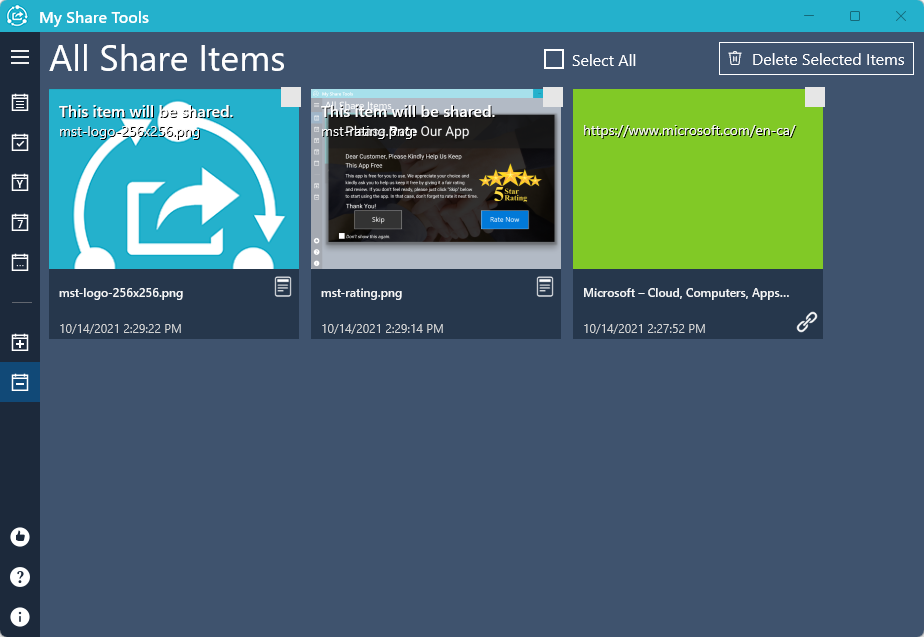
The selected items will be deleted immediately.

How to manually Create a Share Item?

My Share Tools also provides a way to manually create a share item.

Sponsored Links

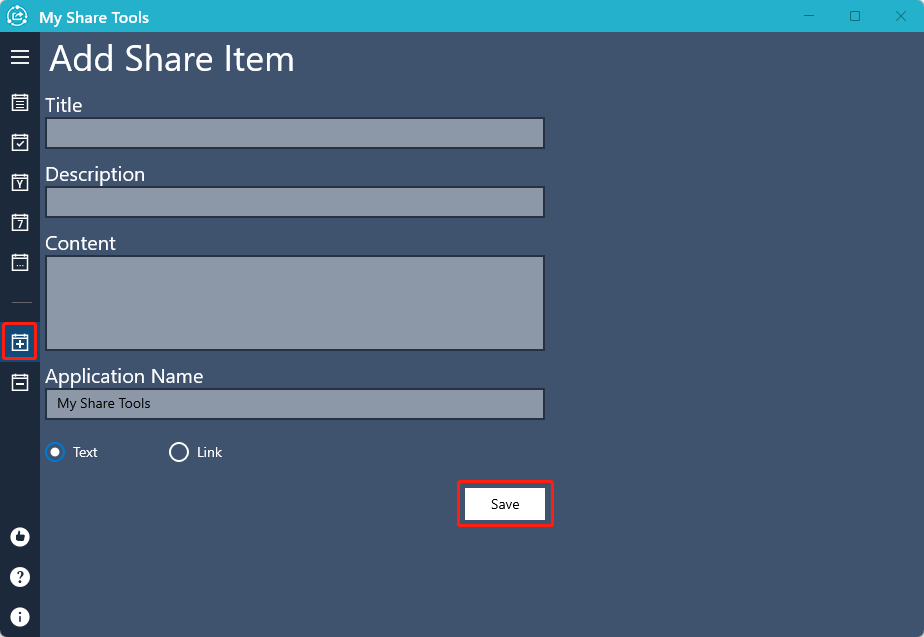
In order to create a share item, simply click the button “Add an Item”, fill in the title, the description and the content, select the share item type (text or link), and finally click the button “Save”.

E-mail Support

If you have any further questions or feed-backs about the app, please feel free to reach us by email. We are here to listen and help.