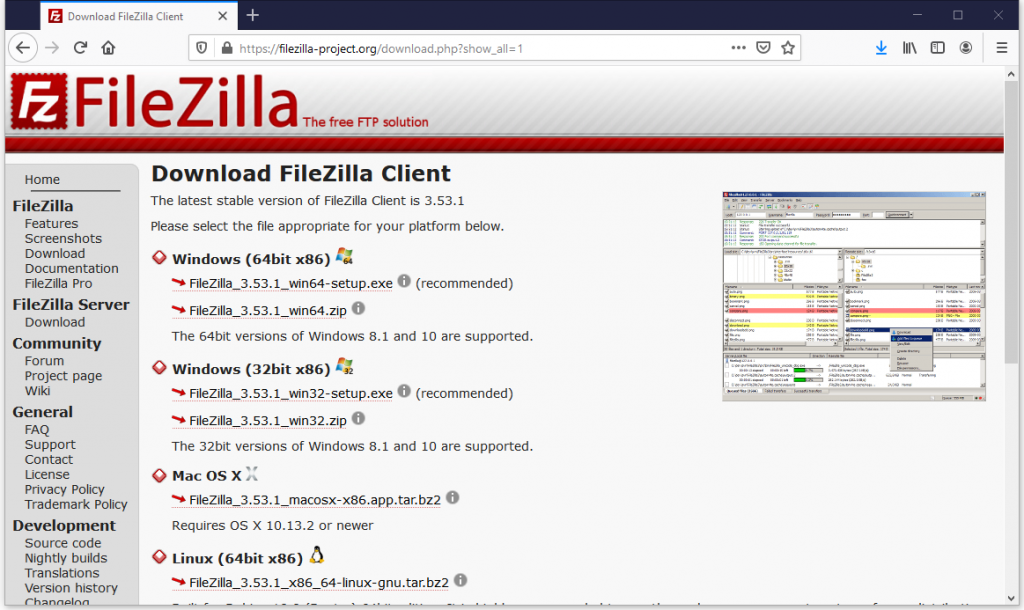
2. Installation
FileZilla Client is a cross-platform application which you can install on Windows, Linux and Mac. The installation process is very straightforward and there is no ambiguity in installing it.

3. Connecting to a Server
There are two methods to connect to a server.
3.1 Using the Quick Connect bar
To connect to an FTP server, enter the address of the server into the host field of the Quick connect bar (e.g. example.com – see image below). If it is
a special server type like an SFTP server, add the protocol in front of the address. In case of an SFTP server, start the address with ‘sftp://’ (e.g. sftp://example.com). Enter the port of the server into the port field if it is not the default port (21 for FTP, 22 for SFTP). If a username / password is required, enter it in the corresponding fields, otherwise the default anonymous logon will be used. Click on Quickconnect or press Enter to connect to the server.

Please notice that the Quick Connect is for… quick connections – so there is no way to edit the quick connections list which stores the last 10 entries. To store FTP server names, you should use the Site Manager, instead.
Quick Connect is good for testing the login info before making a site manager entry. Once you connect, you can choose File -> “Copy current connection to Site Manager…” to make a permanent entry. It is usually best to check your login info with Quick Connect before making a permanent entry.
3.2 Using Site Manager
You can use the FileZilla Site Manager to specify specific site parameters and connect to the targeted FTP site. The Site Manager allows you to store entries and configure more parameters than the Quick Connect allows. You can learn more details about Site Manger in the next chapter.