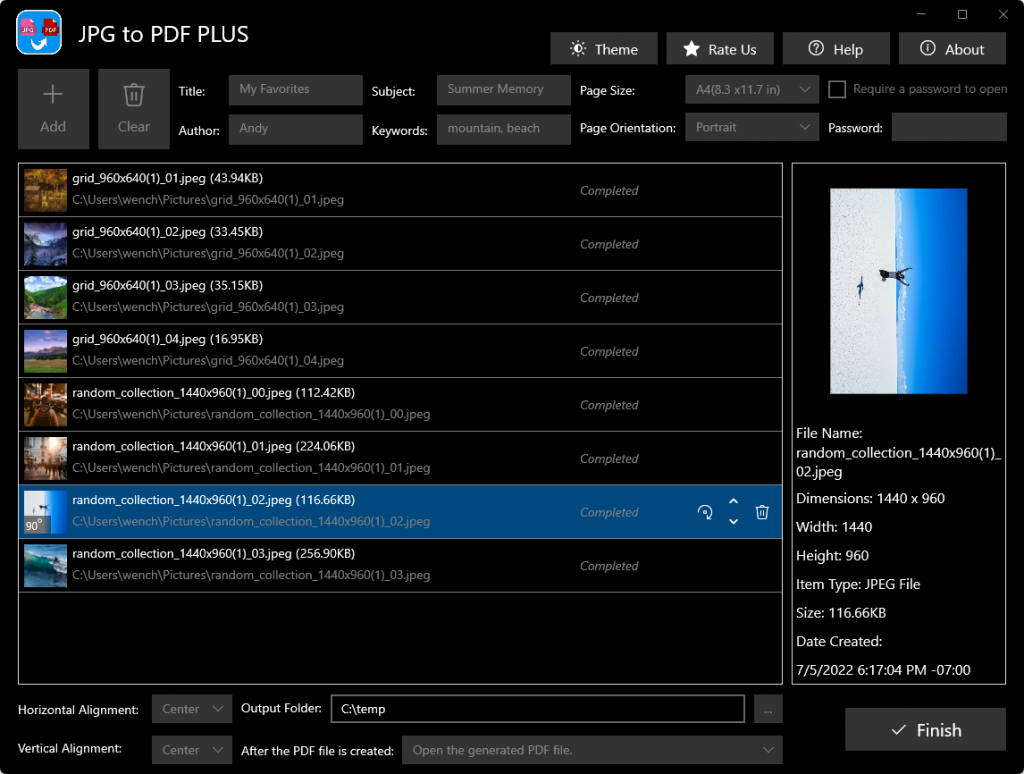
Step 3 – Start Converting
When you have inserted all your source image files and adjusted the settings as you want, you can start the conversion process by clicking the button “Convert”. The files in the list will be converted into a PDF document. Now, you can click the button “Finish” to prepare for the next conversion job.

Note: if you forget to select the Output Folder, you will get a message (as shown below) after clicking the button “Convert”. Just select an output folder, and click the button “Convert” again to start converting.

Where Can I Find the Output File?
Once the conversion process is done, the app will perform the action you configured in the section “After the PDF file is created”.
If you didn’t change that setting, by default, the app will open the new PDF file for you using the default PDF reader app after the conversion is complete.